Sikka Polymer Clay Workshp Day 2
Second and last day of the polymer clay workshop by Lina and Akram (Mobius Design Studio at House 53) at the Al Fahidi Historical Neighborhood (formerly known as Bastakiya). This was a part of the SIKKA 2013 program.
I found the place without getting lost this time! Yey! I was rushing to the venue because I left home late in an attempt to finish an article for submission before heading out. I got there a little past 2:00pm and people were just starting to arrive.
We got our baked pieces back and was introduced to the numbering system of sandpaper: the higher the number the finer it is. After cutting up pieces of sandpaper 600, Lina distributed them and we started sanding.

Sandpaper 600
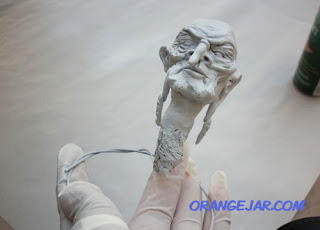
Lucky me, I need my witch's head wrinkly so I did not really have to make her very smooth. Still, I got into its nooks and crannies to remove excess clay and to round off sharp edges.
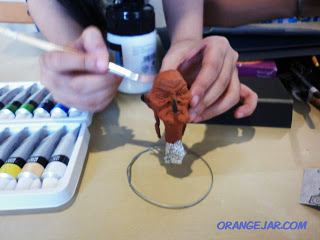
After the tedious job of sanding was the fun part of painting. And in this process they showed us the first step which was priming with white spray paint. We used a white enamel paint from Ace (which, according to Akram was the wrong kind, it should say primer on it and you have a choice of white and gray. He suggested gray for my piece).
Using spray paints take practice. You need the proper distance and aim (hence my furrowed brows because I seem to be getting it all wrong). Of course, my first layer was uneven.
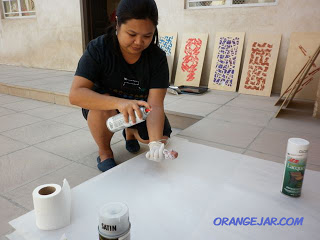
Spray painting against the wind was not fun. Half the paint went somewhere else...
Ooops, I hope not on those paintings behind me.
Loving the white look. Maybe I can just keep it this way...
Another workshop participant working on Yubaba
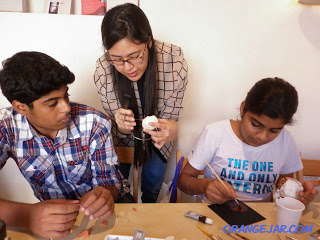
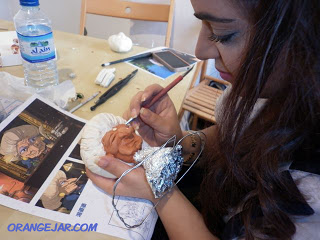
And on to painting we go! We were supposed to use airbrush and I was excited about that. I have not used airbrush before. However, something went wrong with the nozzle or tube, so we were not able to try it out. They did provide us with brushes and Derwent acrylics to work with and all was good. Everybody was soon busy, heads down concentrating on finishing their pieces.
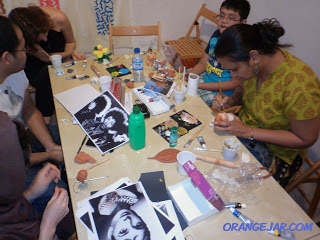
Everybody's busy
One problem I always encounter is leaving brush strokes behind. It gets easier with several layers of paint. Their solution to this was to use thin coats of acrylic paints. Dilute the paint first with water before applying.
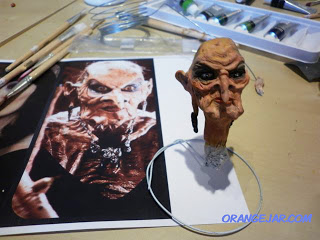
First, I layered with yellow but the brush I used had blue on it which I did not notice so it became slightly green - a happy accident, witches should be green right? Then a slight tint of orange (but still more yellow). Then I started putting on the warm colors, flesh tones, orange, then added greens and blues in corners and the eyelids.
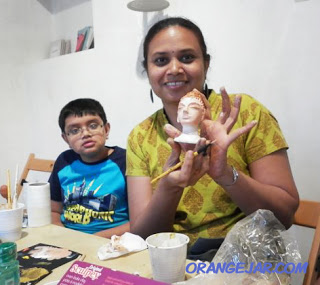
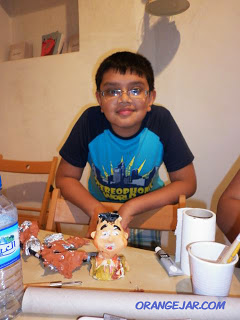
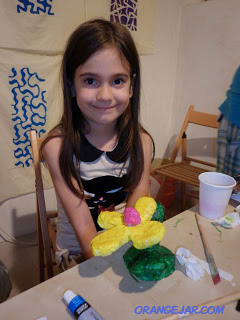
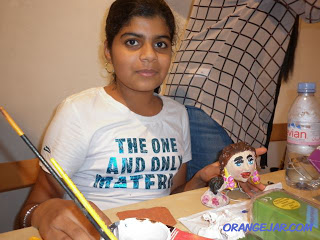
Gallery photos: 1. Preeti decided to make a bust of Buddha. Instead of doing a one-color piece like most Buddha statues, she decided to put colors on it. I love the neutral and brown shades she blended on the eyelids. 2. Ayosh (Preeti's son) and his Russel creation, both looking pretty sharp! 3. Look at this adorable artist (she's only six years old!) and her just as adorable floral piece that would look good on any mantelpiece. 4. Yey! Another Ria in the group! Young Ria here made three pieces during these last two days. Her first piece is that beautiful lady on the right (my right, or left!) with those gorgeous eyelashes. 5. Guess who? One look at that mustache and you know it's good ol' Charlie. That black and white really worked well with this piece done by Ria's brother. 6. All our works all lined up.
We left all our works at House 53 where they will join all the other artworks done by other SIKKA workshop participants. Turns out there's a gathering or a feast on the 24th - everybody can come and view the exhibit and then we can take home our pieces after. Sounds fun!