Tutorial: Simple Mini Leather Book
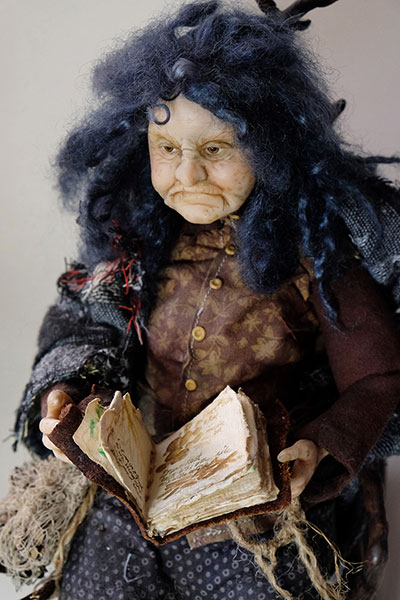
When I started making Crabby Granny, there was only two things I knew for sure: I wanted to make an old woman and she will have a cane.
At first, she was going to be either an old witch or an old female elf. With my family's vote, she became a witch. As I browsed through pictures of old women, I gradually leaned towards one with beautiful age lines who did not seem too happy with the world. And from there, her full character started taking form and she very soon told me that she needs to have a book. She can't live without one.
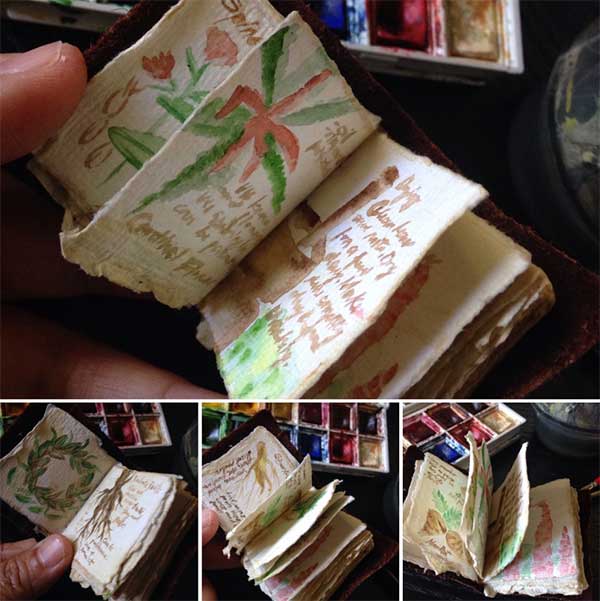
Like a good grandchild, I set about making her one. I thought being a healer, she needs a big, old, world-worn leather book (for her size, that is). As I looked through my leather stash, she whispered that this book is where she records different kinds of plants, their properties, when to harvest them, where to find them, how to prepare the potions and what ailments they cure. Her family has been doing it since The First Healer.
When Granny is not attending to careless, stupid ailments (her words for weekenders who decide to take a walk in deep woods without proper gear or equipment, or warm-up) or mixing up some grave, death-defying tonic for an illness, she studies new ways of preserving roots and herbs. Every time she makes a discovery, she records it in her book, like all healers before her. Oh what stories that book can tell! They've annotated the works of previous healers, and you'll see some wicked comments spread here and there.
Making the Cover
I took a piece of leather and cut it to the size I determined the book should be. The brown leather I had was bought from somebody who makes leather products and sells his scrap, so it already looked old but I decided to make it even older by giving it a very good beating. I scratched it with a dull exacto knife, other dull metal tools, pulled on both ends and poured different liquids on it. After all that torture, I also scored a line on the inner middle areas (where the spine will be).
Making Inside Pages
From my stash, I looked for handmade paper, the thinnest (less weight) one I had. I cut it smaller than the leather cover, double spread (the size of two pages spread flat; if you look at the photo below, you'll see each page is folded, so it's basically two pages per piece).
First, I folded them to the sizes I needed then slowly tore them apart by the fold lines, leaving a double spread page per piece. Tearing gives a nice, uneven and more organic look to the edges.
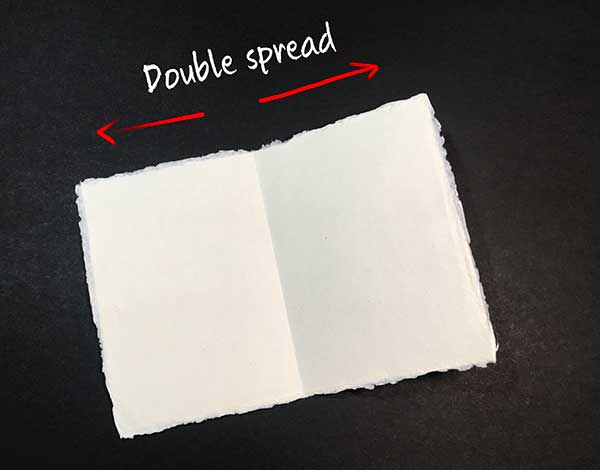
Be sure to keep your pages double spread
After I had about 10 pieces (makes 40 pages, front and back) I folded each in the middle. To make sure they fold well, I scored the middle part where the fold goes.
Leave one spread extra, set it aside. We're going to glue this directly to the leather later.
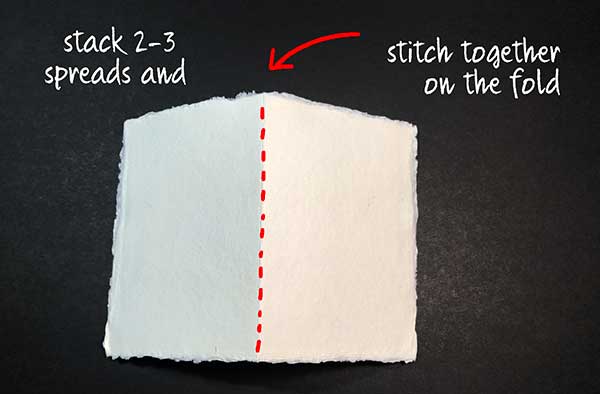
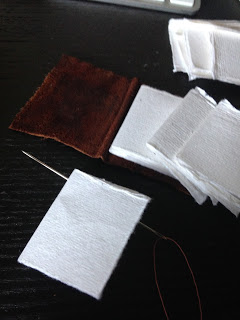
Stack two-three pieces on top of each other and using a simple running stitch, sew the pages together, along the fold.
You can stack more pieces together, just check that they fold nice and flat together. I used handmade paper so it was thick and putting more together would mean it would be a lot harder to sew.
The stitching doesn't have to be perfect (that's what I tell myself!). It goes with the handmade charm and we're covering the spine up anyway, so it will not show.
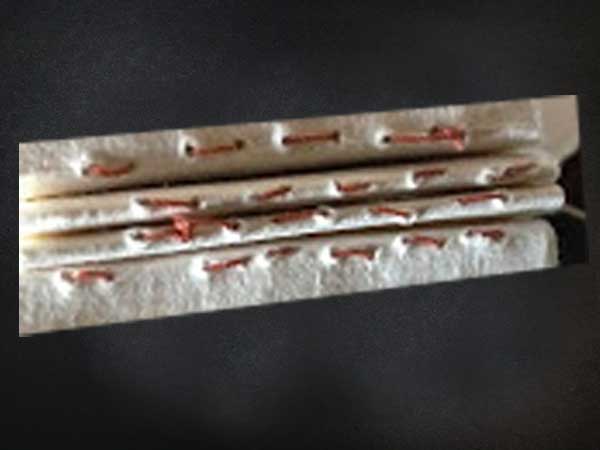
My beautifully uneven stitching - lol
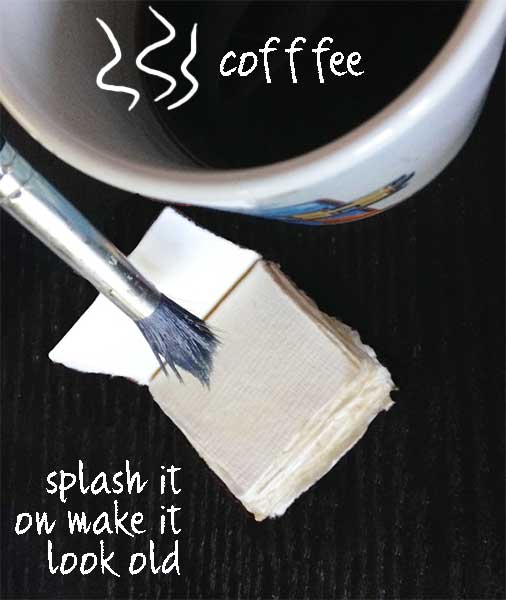
I used the last bits of my morning coffee
Age the Pages
Before we do anything else, we'll age our pages. The easiest is to mix up a cup of coffee (no sugar, no milk please, brewed or instant works), or watery blackish-brown paint – whatever you have or is easiest for you – and start brushing it on those pages. Make them look aged and worn. Dab a bit on the corners where time will make them yellow. Add a drop in the middle where, perhaps tea or coffee spilled before. Then let everything dry. Totally dry.
Make the Spine
All dry? Let's stack the folded, sewed up and aged sets again, one on top of the other. Just like in the photo above. Apply glue to the spine and cover it with brown paper.
You can cut out a piece from a brown paper bag, or you can use brown paper tape, floral tape or painting tape. If you use tape, you can opt not to use glue but if I use tape, I think I still use glue to make sure that the spines of our sets stick very well to the tape (or brown paper, whichever you use). Use a neutral (brown, beige) colored material, so if it shows up on the edges, it still looks good.
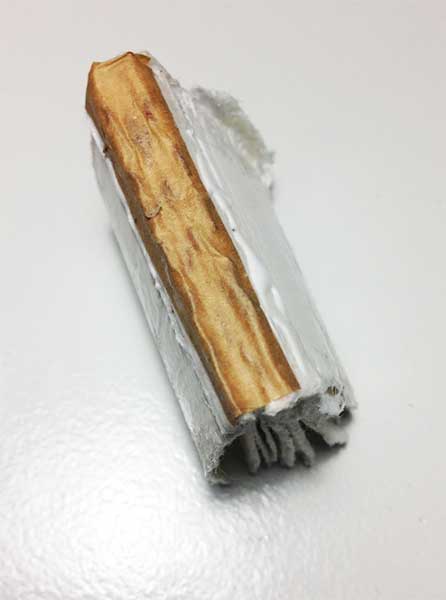
The spine covered with brown paper
Attach to the Leather Cover
While that spine is drying, take that extra handmade paper spread we set aside earlier. Cover the back side with glue. Then stick it right in the middle of the inside page of the leather cover. Let it dry. Add weight over it – a book, a full coffee mug, a jar full of beads, whatever you have handy – so that it sticks to the leather nice and firm as it dries.
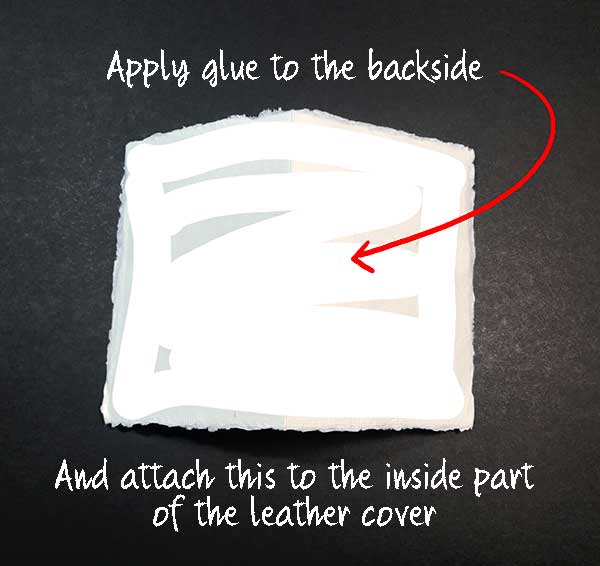
After that dries, apply glue over the brown paper of our spine. Then stick it in the middle of our dried extra spread (which is now glued to the leather). Make sure it's in the middle. Our spine is going to be wide so when you finally fold it, it will seem longer than the extra spread we have glued to the leather.
Score the extra spread at the edges of the spine. If you score carefully, using a blunt-tipped tool, you can score the leather through it too. Fold the leather over the pages, use a clip if you have to and let the inner spine dry.
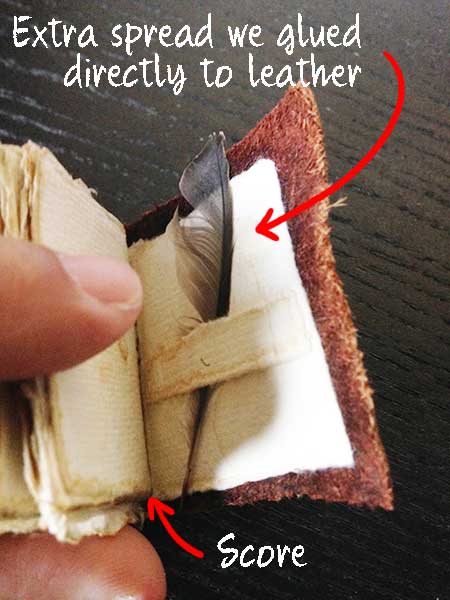
Score along the edge of the spine
Decorate the Cover
At first I thought this would be a simple, no title, no decorative elements leather book. Crabby Granny hails from very simple origins, they like to stay with nature and the family does not suffer frivolity well.
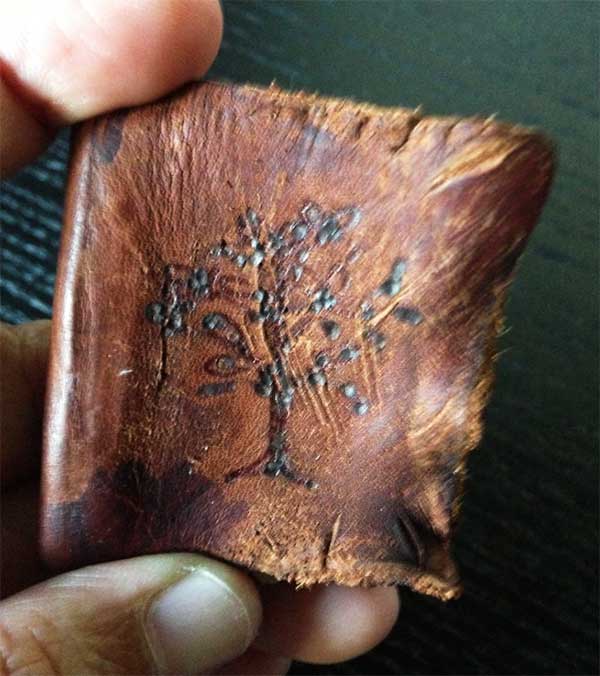
But the book wanted something more from me. So I got my thingamajig out and scorched the image of a small plant on the cover. I think that made Crabby Granny happy... and the book.
The only thing left to do after that was to write in the book but that was Crabby Granny's job, so I left her to it.
Thanks for checking in, I hope you enjoyed this post!


