Tutorial: Fairy Doors
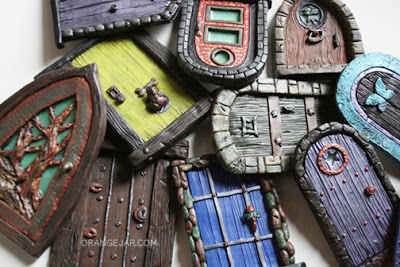
The
Northwest Polymer Clay Guild (NWPCG) regularly holds different programs during its monthly meetings. For one of the programs, I was asked to present how I make fairy doors. I say, I because I am sure there are very good ways, better ways other artists make them. But this is how I do it. A lot of our members are polymer clay caners, and this program, for me, is more of sculpting program but this is definitely a project canes can be used a lot!
At the meeting I presented three styles of fairy doors we can make:
• Fixed closed door (door does not open),
• Working door with simple pin hinge, and
• Working door with miniature door hinges.
Here, I'll show you how I make the fixed closed door. I will also write about functional door in a separate post.
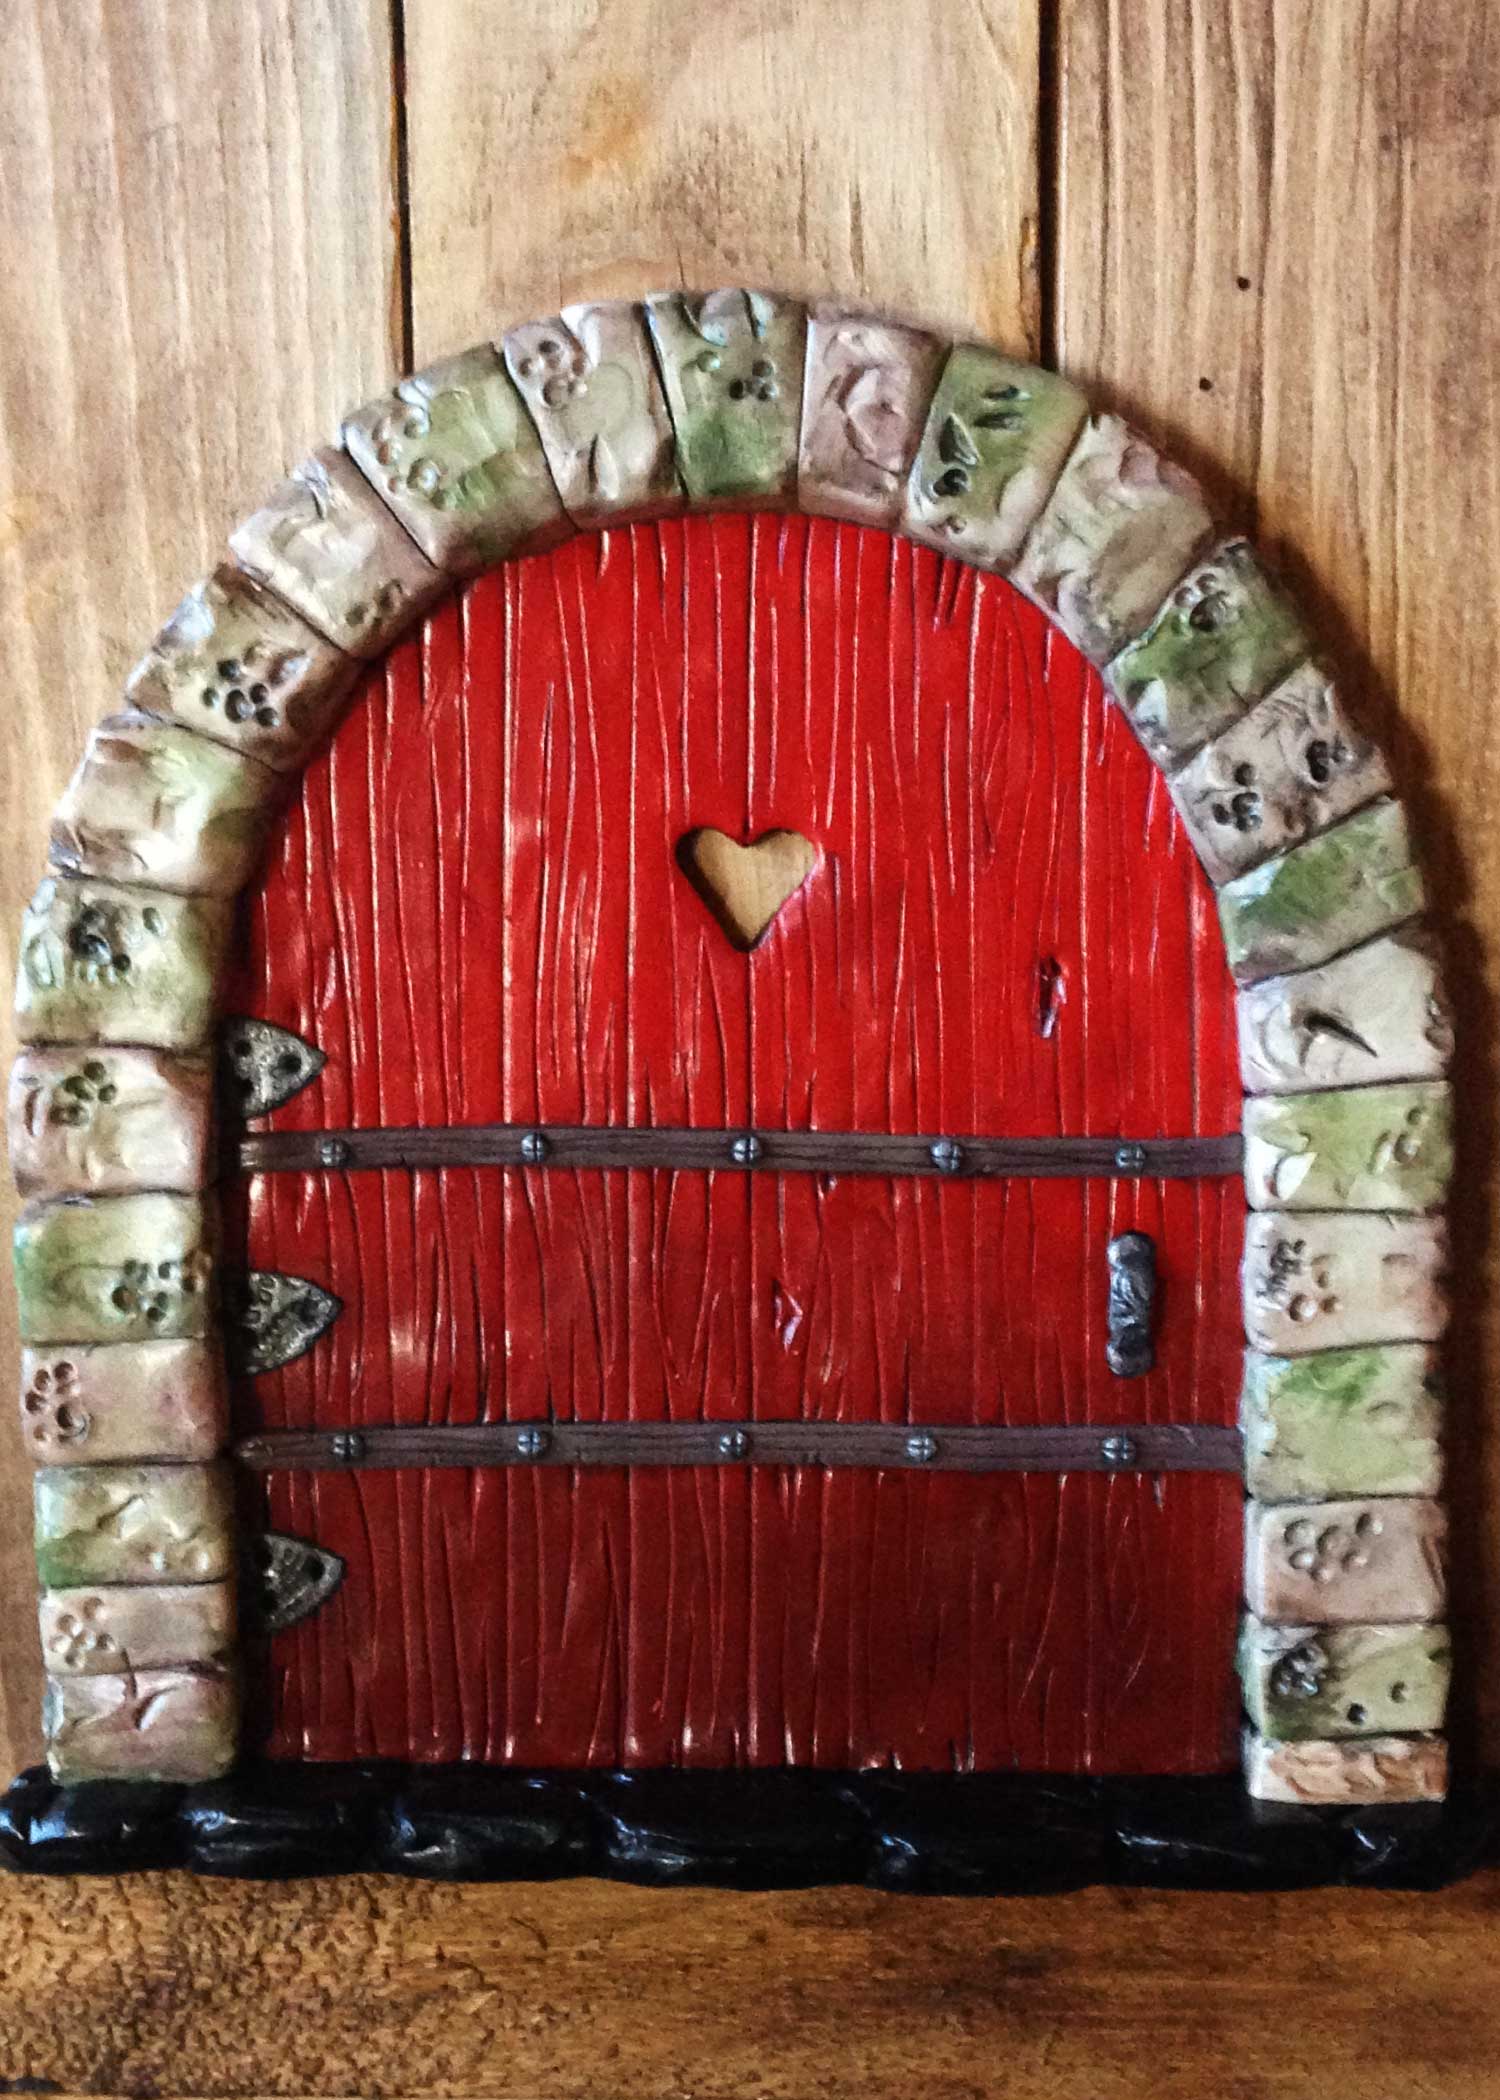
Fixed Closed Door
1. Decide on a design (there are three patterns below to choose from or you can make the frame as fantastic as you want. We are making fairy doors after all). If you want your door to be symmetrical, it would be best to use a pattern.
2. Print the pattern you chose and cut the frame area.
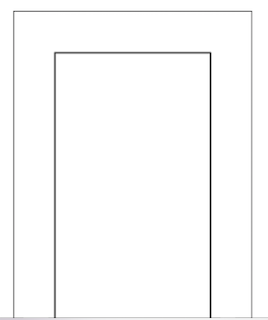
The easiest is just like any other rectangular door you can find our world.

Curved door. You can change the curve by folding a paper in half, and cutting it according to the curve you want. Unfold it and use it as your cutting template.
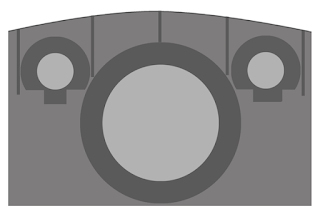
Last but not least, a simple Hobbit House door.
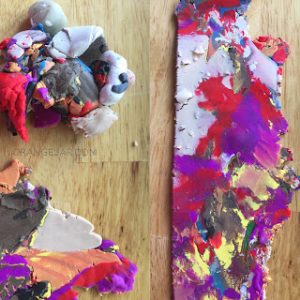
3. Condition the polymer clay of choice. I like to paint my doors because I like the effect – it seems to have more country charm. If I'm painting the piece, I will use scrap clay – it's a great way to use up those small leftover bits from previous projects.
You can also use any solid color polymer clay you have at hand or better yet, the color fo your choice, if you do not want to paint it later.
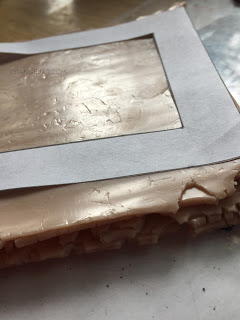
4. Lay two-three layers of polymer clay on your conditioning machine's thickest layer, big enough to fit your pattern. The number of layers you use will depend on how high you want the door frame to be raised from the door itself. Roll each layer like you're placing the pastry cover on a pie, slowly and evenly. Make sure there are no air pockets trapped inside each layer.
5. Place your pattern flat on top. Cut the shape of door frame from your flat polymer clay. For a closed door, you can use two or three layers for the door frame. Set the pattern aside.
If you are using the Hobbit door pattern, trace over the pattern with a stick to transfer the lines to your polymer clay. After you have the lines on your polymer clay, cut the inner circle of the door and the windows.
6. Condition and prepare one-two more layers of polymer clay, again on your thickest setting. This should be wide enough to cover the full door including the frames we just made. You can use colored clay here, just remember that it will become the color of your door (if you're not painting it). Skinner blend is very nice to use here too.
7. Place the frame on top of this new layer. Trim the sides. Now we have a raised door frame and our actual door.
8. Texture the frame and the door. You can make them look like wood and draw wood patterns or add pebbles to make the frame look like it's made of stone or pebbles. You can also cover the frame or both the door and frame with polymer clay canes. This is the most enjoyable part, where you can design it to be as fanciful or realistic as you want.
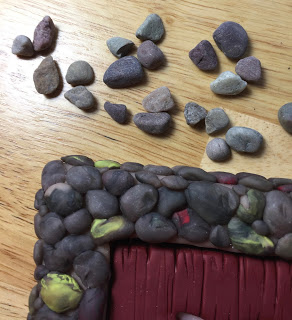
The pebbles on top are real gravel from a garden store. The pebbles below are made from scrap polymer clay.
9. Don't forget details. Add features like a peephole (small cookie cutters work great for this), door knocker, metal bars, nails, hinges, door knob, keyhole, coat of arms, etc. Depending on your design and theme, you can also add a lamp, a mailbox, flower pots, or more! You can also add a doorstep and you can experiment with stamps to create patterns to try give them interesting textures and patterns.
10. When you're ready, bake it. If it's too thick, make sure you leave it long enough in the oven to cure it all.
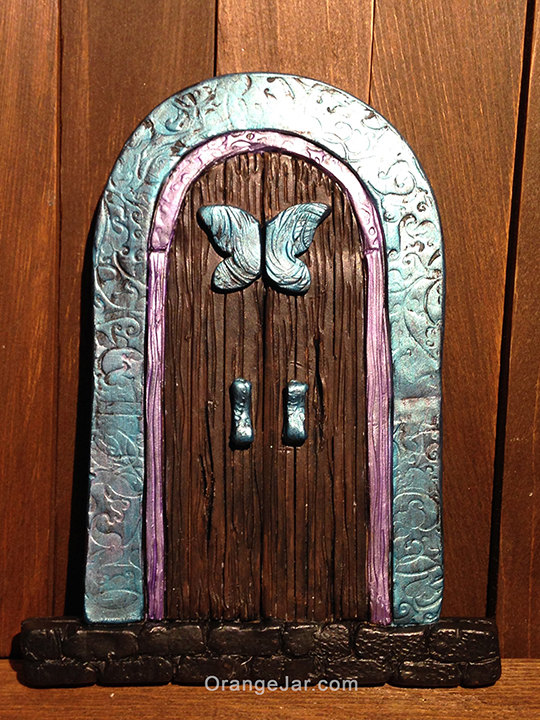
11. If you used scrap clay or plain colored clay, then this is the time to paint! Again you can be as fanciful or realistic as you want.


